Sunday, 13 December 2015

Tamai 1884 - Part II & III


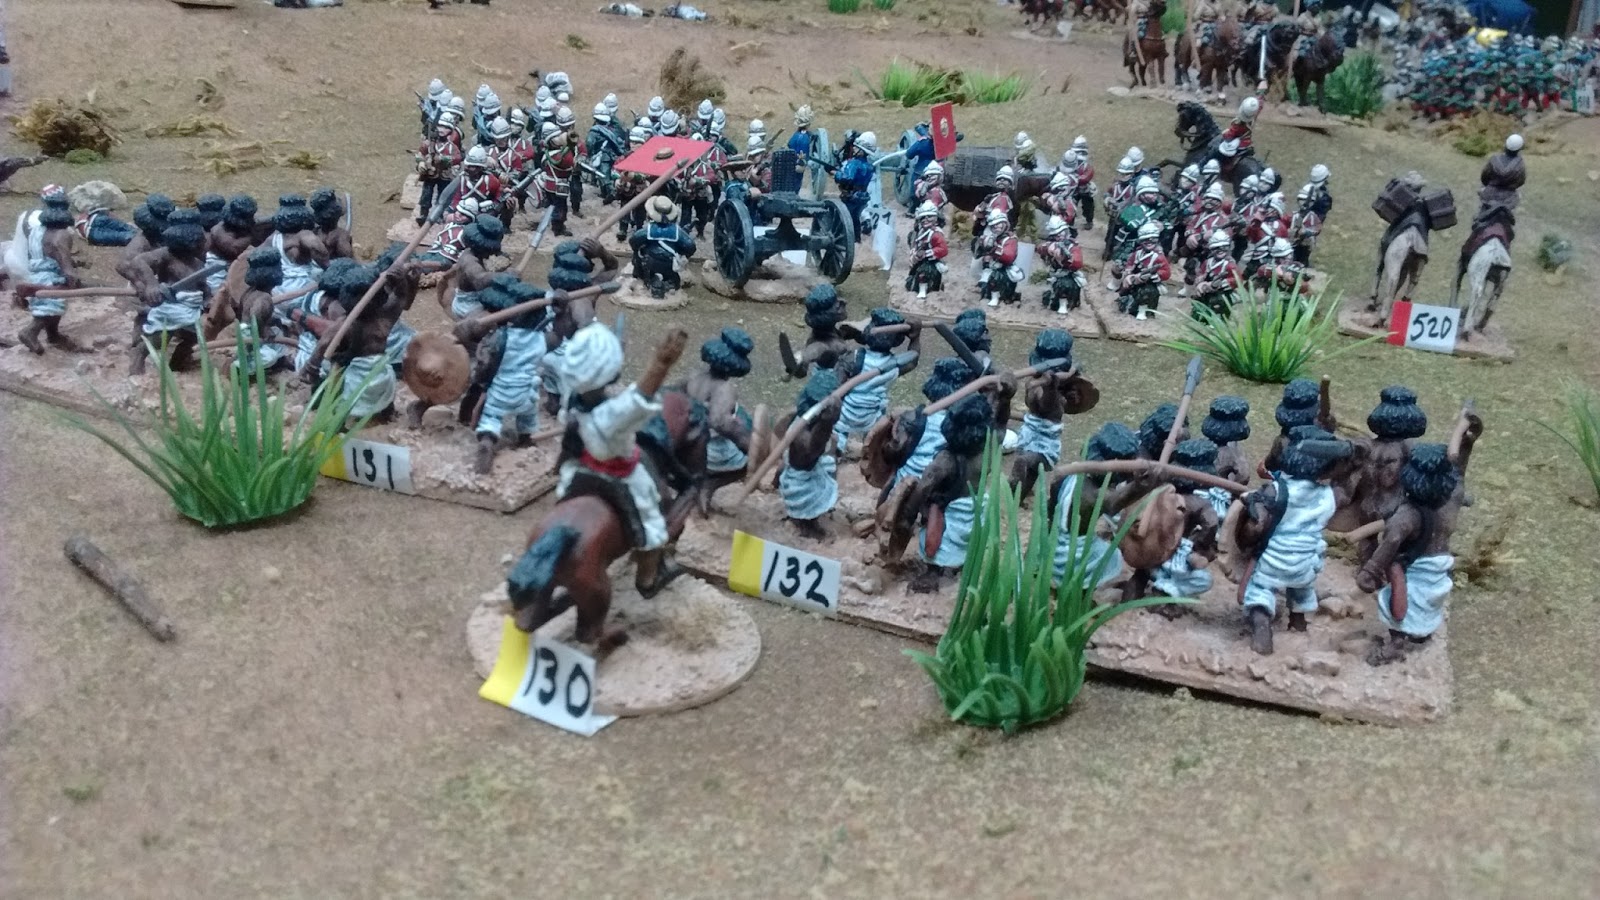
Tamai continued on for a couple more game sessions with the action really only beginning in session II.  The Dervishes did a gradual encirclement of Colonel Davis's square which, after much pressure, resulted in it's complete destruction. Colonel Buller's square held strong during session II but by the end of session III was in complete disarray.  Fortunately this dervish wing was not able to bring as much pressure to bear on Buller's force and it was able to hold its own.  By the end of the third session Buller's column was attempting to redeploy in an all round defence on the hill in front of the British base camp to await the onslought of the full dervish host...or what was left of it. The steady trickle of bloodied, redcoat refugees from Davis's square suggested a taste of the drama about to unfold.


This picture shows the beginning of the dervish encirclement of Davis.

The Royal Irish Fusiliers prepare for the first human wave attacks

The Black Watch were facing Buller's square and did not come
 under any pressure until the square collapsed.

See the sneaky dervishes giving the square a wide berth
as they move around the flank.

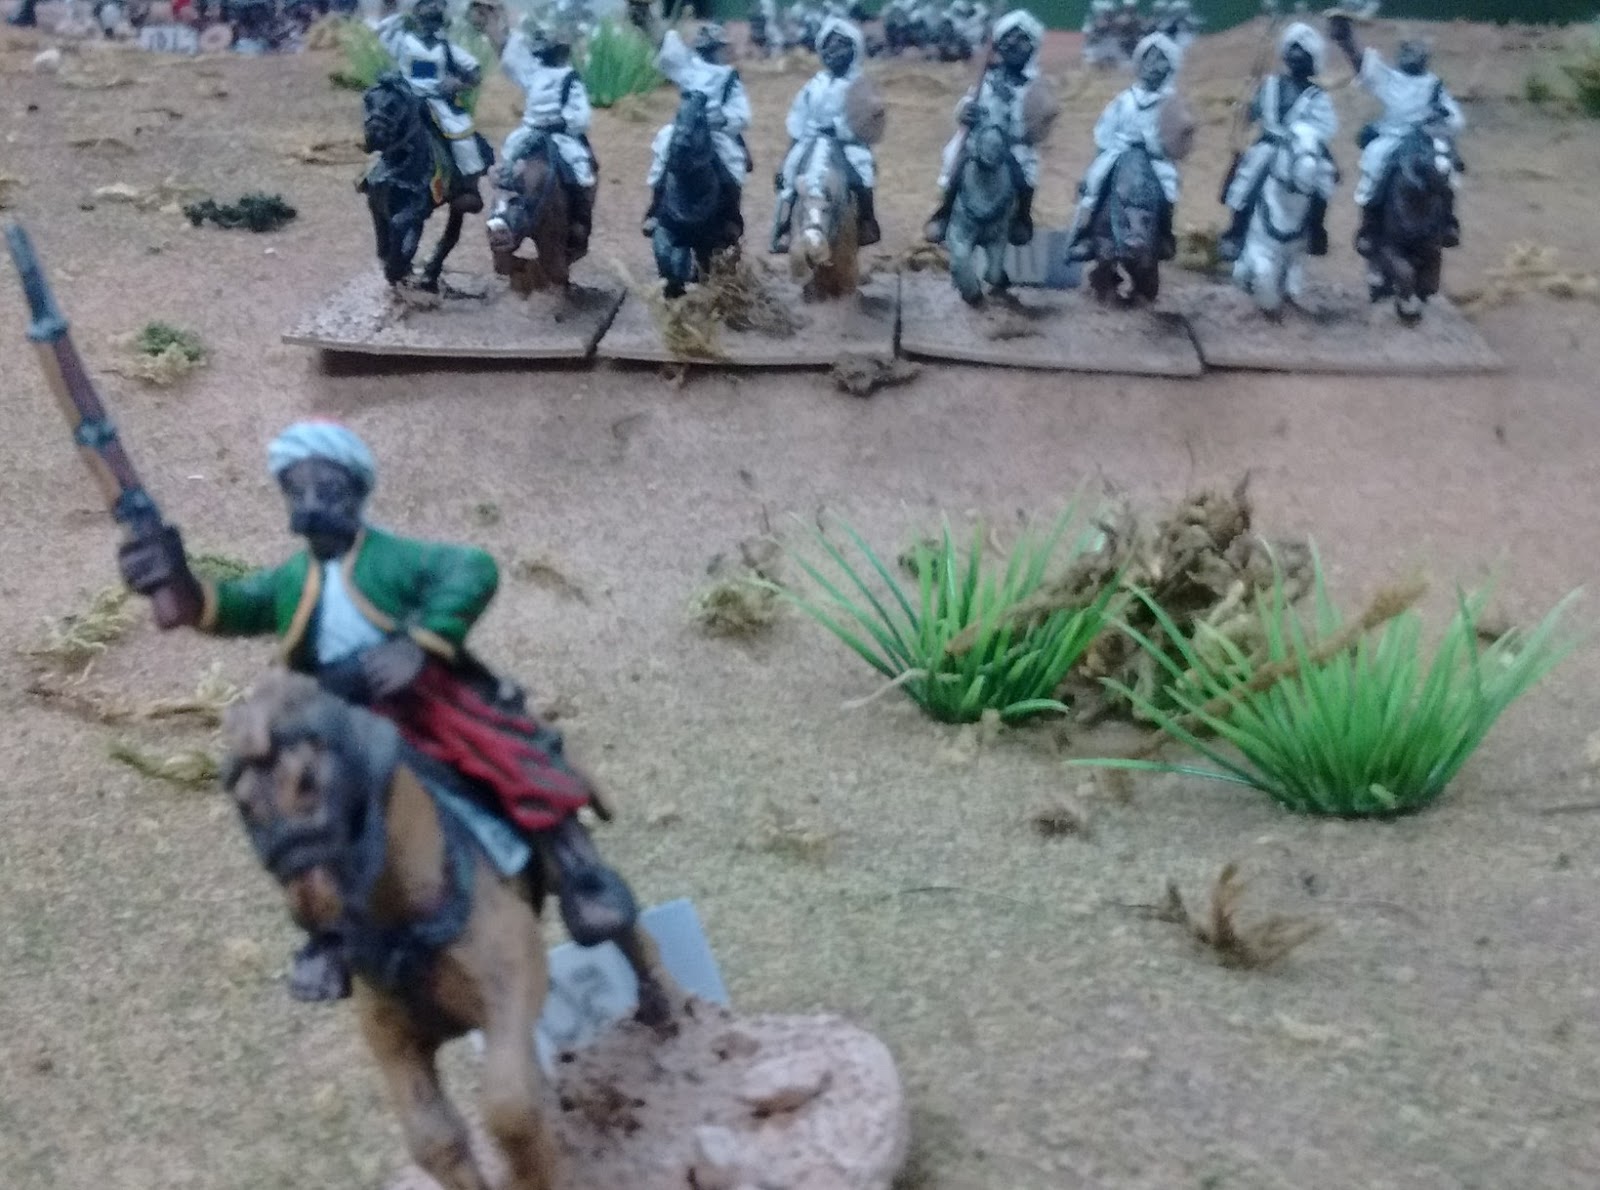
The Dervish Camelry now gets involved.

Meanwhile Buller's square continues to be sniped at but holds firm.

The 7th Bombay Native Infantry.  There were no Indian troops at the real battle.


Work continues in the British basecamp, now protected by improved Zaribas

Valiant Colonel Redvers Buller confronts an angry Dervish elder who shakes his fist at him.
Go home infidel.  You are not wanted here!  30mm Willie figure form the 70's.

A never ending mass of dervishes approach Davis.

The Dervish Chorus Line....alalalala

The rear of Davis's square is punctured.

The British are now in disarray, pouring a panicky volley onto their tormentors.  

Captain O'Malley of the Royal Irish Fusiliers  keeps a stiff upper lip.


Another shot of Howard's fine Zaribas

General Graham monitors the debacle in the valley below.  Colonel Fred Barnaby
is dispatched by General Graham to take control of the situation but is quickly wounded
and out of action.. You can see his lone figure in blue just before a mahdist hacked
off his left hand. Burnaby punched the offending Mahdist out cold with a right cross and calmly picked
up his unused shotgun and trundled off the field for medical attention.

Its said that the severed hand was eventually covered in gold leaf and presented by Mahsud Musa as a trophy to
the Holy One...the Mahdi.

See also a journalist from the London Times quickly sketches the action.
This will be front page news.  Read all about it! 

Captain Mad Dog Fielding of the Royal Warwickshires implores his men
to advance against the dervish mass.

Dervish success is bought with heavy casualties.  Dervish Army morale
is starting to crack.  A few troops begin to leave the field......
however the dervishes can afford them. 

The red line gets thinner...


....and thinner

The front of the square continues to hold...for now.  The boys in green
are the King's Royal Rifle Corps (KRRC) affectionately know as
Colonel Saunder's KFCs 

Fighting for their lives.  

Finally the dervish mass troops slam into Buller.  The Camel Corps repulses
several waves.

The two dozen devils of the Bashi Bazouk Scout Troop rout thousands
of fatigued mass dervish troops to rout before becoming
engulfed in a swarm of jihadiya riflemen.


By now Davis's square has totally collapsed with the British
fighting back to back where possible.  

Here they come again!!

The encirclement is now complete.

The last moments of B Co. 9th Royal Artillery Regt.

Colonel Stewart's Cavalry arrive from
their meandering tour. Too late to save the day.

Buller's square is also cracked open but there is no panic and the troops hold firm.

The Yorks and Lancs prepare to deliver another volley into  their
worthy opponents.

Out of frustration, General Graham orders the Sikhs to indiscriminately
bombard the swirling mass in the valley below.

The remnants  of Davis's command form
battalion squares in a last stand effort.

Somewhere in the valley a bugle began to sound the call for retreat....nothing more was then heard from them....

Tune in for the conclusion of Tamai. 


Tuesday, 24 November 2015

Tamai 1884 - Part I


November 2015 we started the battle of Tamai in the Sudan, 1884.  Tamai was the second battle of the Suakin field force in their objective to clear the mahdists from imperiling navigation on the Red Sea. Rules used were computer moderated Carnage and Glory 2 using the Von Moltke version with a number of house rules to account for colonial warfare.  Unfortunately the author, Nigel, has not yet been convinced to write a colonial version of his rules, but nonetheless Von Moltke plus mods is working like a charm so far. I am beginning to think that the colonial era is the perfect place to use these rules in 28mm due ot the small scale of the battles.  No bathtubbing necessary at all.  


Two British columns, Brigadier Buller (foreground) and Colonel  
Davis advance towards the dry river bed where the 
dervish encampment has been reported. 


The columns start off  at 7am. It's warm already.  The British need
to put their enemies to flight before high noon.

The first line of resistance are a few dervish riflemen in foxholes
who keep up a desultory fire against the advancing squares.  

The Camel Corps in the vanguard of Buller's column.  

Davis's column begins a parallel advance lead by the KRRC
(King's Royal Rifle Cops).

Buller's Column takes a few casualties from sniper fire before they 
form up on a small hill to return fire and await developments from 
the otherwise unseen enemy.

Davis's column encounters disruptive terrain as they
march into a depression.

 
Meanwhile the Cavalry brigade under Stewart 
prepares to leave the Zariba to support the squares.


Bengal Lancers 


 Some of the new British arrivals are overcome by the 
heat already.

Nurse Fowler attends to the stricken man.  


General Graham, the overall commander, oversee's 
the advance of the columns.

Still no sign of the dervish...a small contingent of irregular 
Bashi - Bazouk try to scout out the riverbed and this 
arouses a group of Dervish horsemen who decide to 
drive them off. 


As the horsemen approach the ridge they discover an 
unwanted presence in the gully below.  

They are soon joined by friends.


Before long more groups of dervish are advancing
from the riverbed.


Form Square!

The British columns await the onslaught!

Colonel Davis's men are still in column advancing through
rocky terrain.

On come the Fuzzi-Wuzzi's

Kill the infidels!

More Dervish horse advances.

Colonel Davis's Square is at risk of encirclement.

After driving off the Dervish Cavalry vanguard the Bengals
ride into the flank of an 800 man mob of Hadendowa..
killing over 300 in their devastating charge.

We will match those lancers with camelry!

Not sure why the colours are so much more vibrant in this pic 
and the next but I like them!

alallalalal!


Storytime with the Mahdi

Davis finally forms square...not a moment too soon.


More fuzzies appear!

Buller's square hold's firm. 

The Camel Corps mow down the first few half hearted  waves 
dervishes.

Colonel Fred Burnaby, reputed to have been the strongest man
in England, leaves the square to go hunting with his Shotgun. 

The full dervish host has arrived. 

More next time.....


Monday, 23 November 2015

Wavre 1870 Part III - The Conclusion


Where has the time gone.  We wrapped this one up in September.  The Prussians had a pyrrhic victory on the battlefield but would have been too late to intervene at Waterloo....thus ensuring the future of the Second Empire....and the banishment of Bismark to st. Pierre and Miquelon or something like that.  

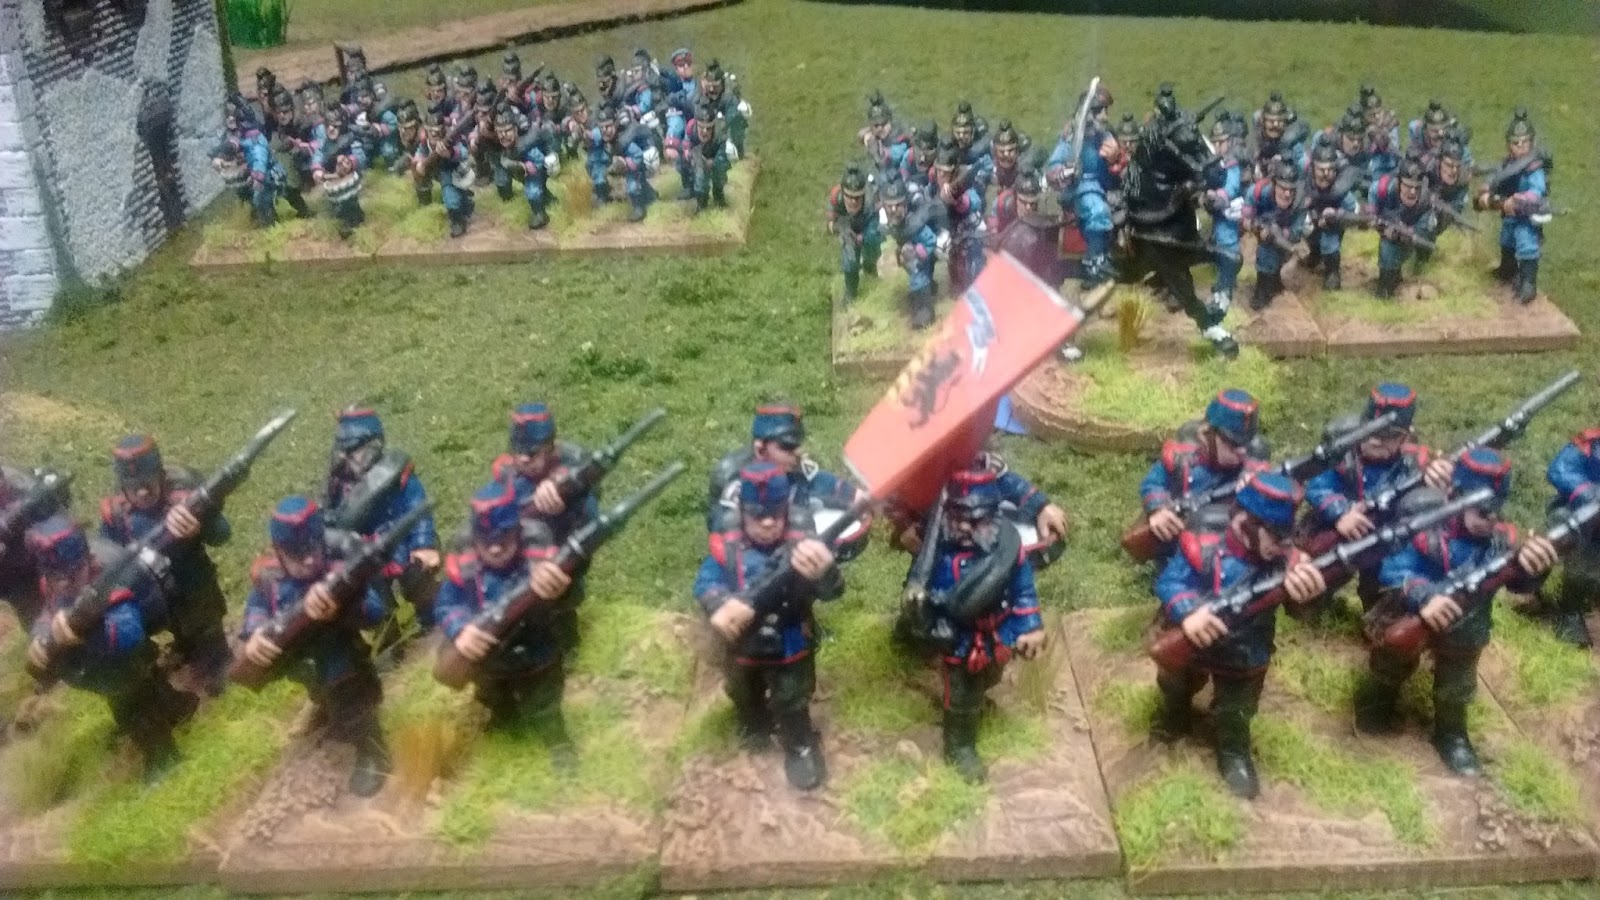
After having taken Limales the Prussian allied division breaks through the feeble 
defence at Limales leady by the worthy Wurtumbergers.

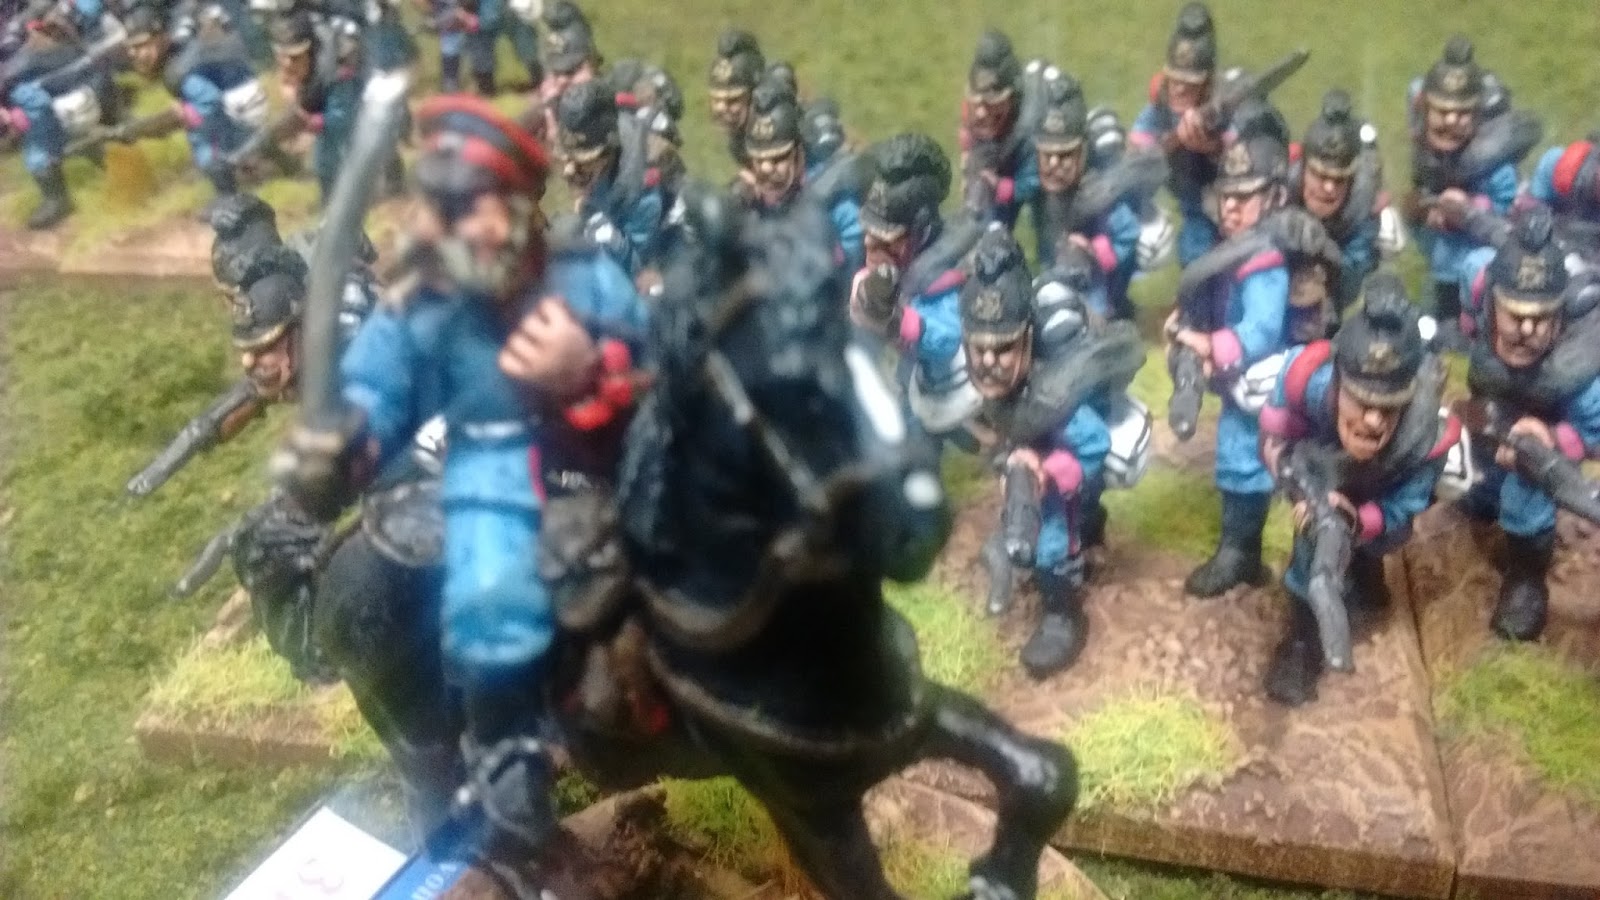
Withering fire from the Queen Olga's of the Wurtembergers as
they advance down the road to Bierges.

French Cuirassiers advance to the rear form Limales ot Bierge.

 The Bavarians follow up.

 There is a simultaneous breakthrough by Bavarian 
heavy cavalry at Bierge.  It does not look good for the French.

Advise all units to fall back.  The boche is upon us!

The valiant (but very methodical and patient) Von Howard
unsuccessfully attempts to smash his way across the 
Wavre bridge again.


The wages of war.