Tamai 1884 - Part I
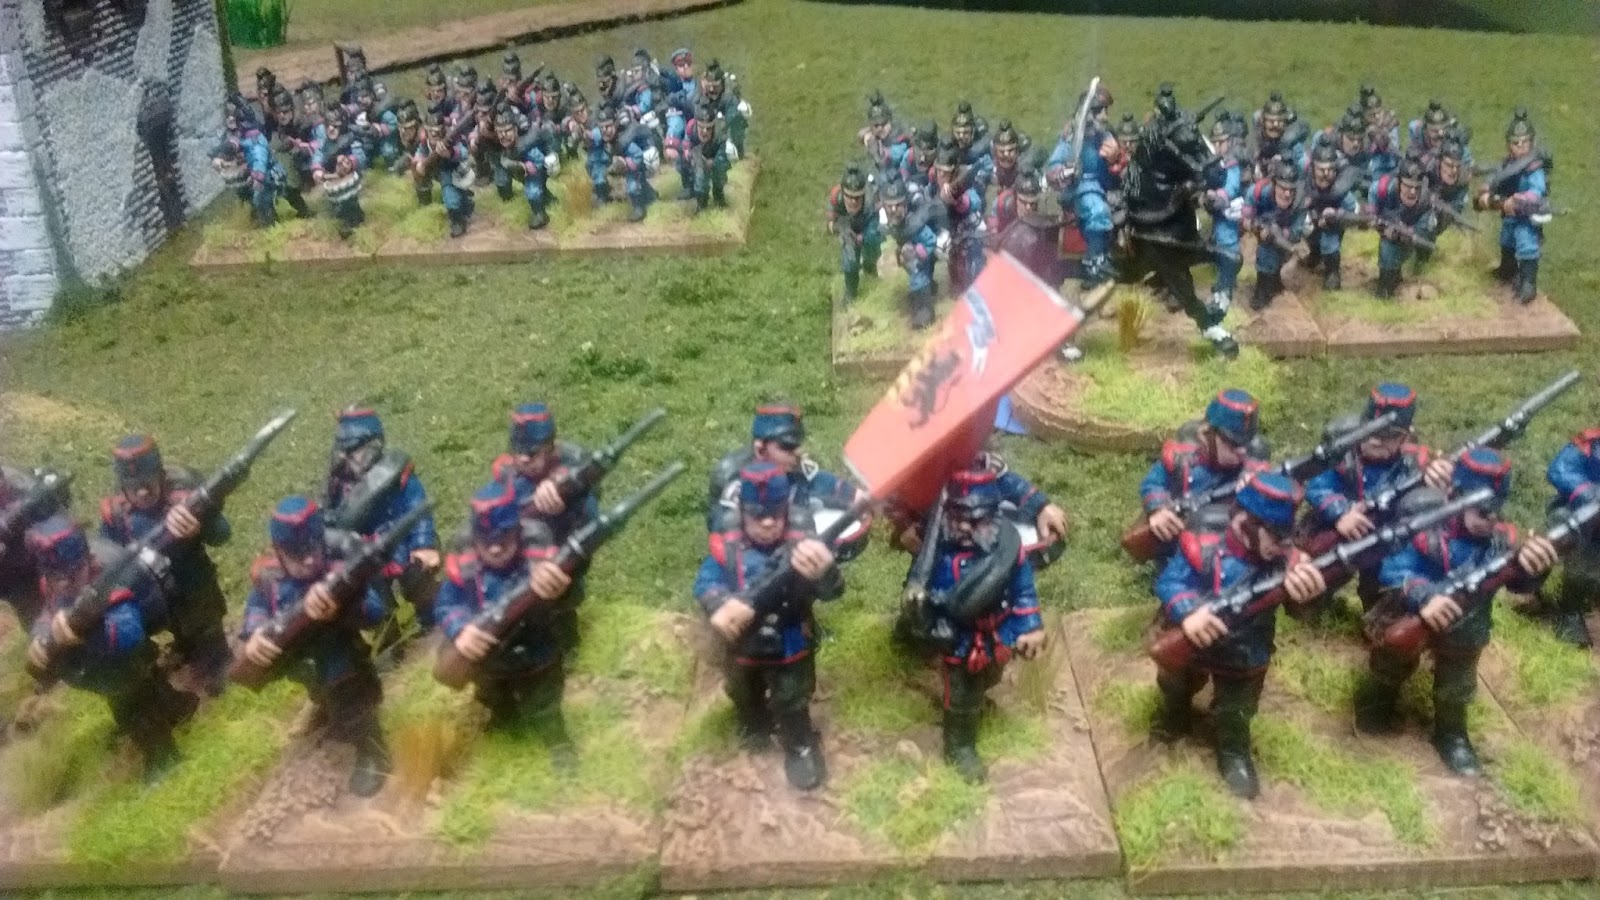
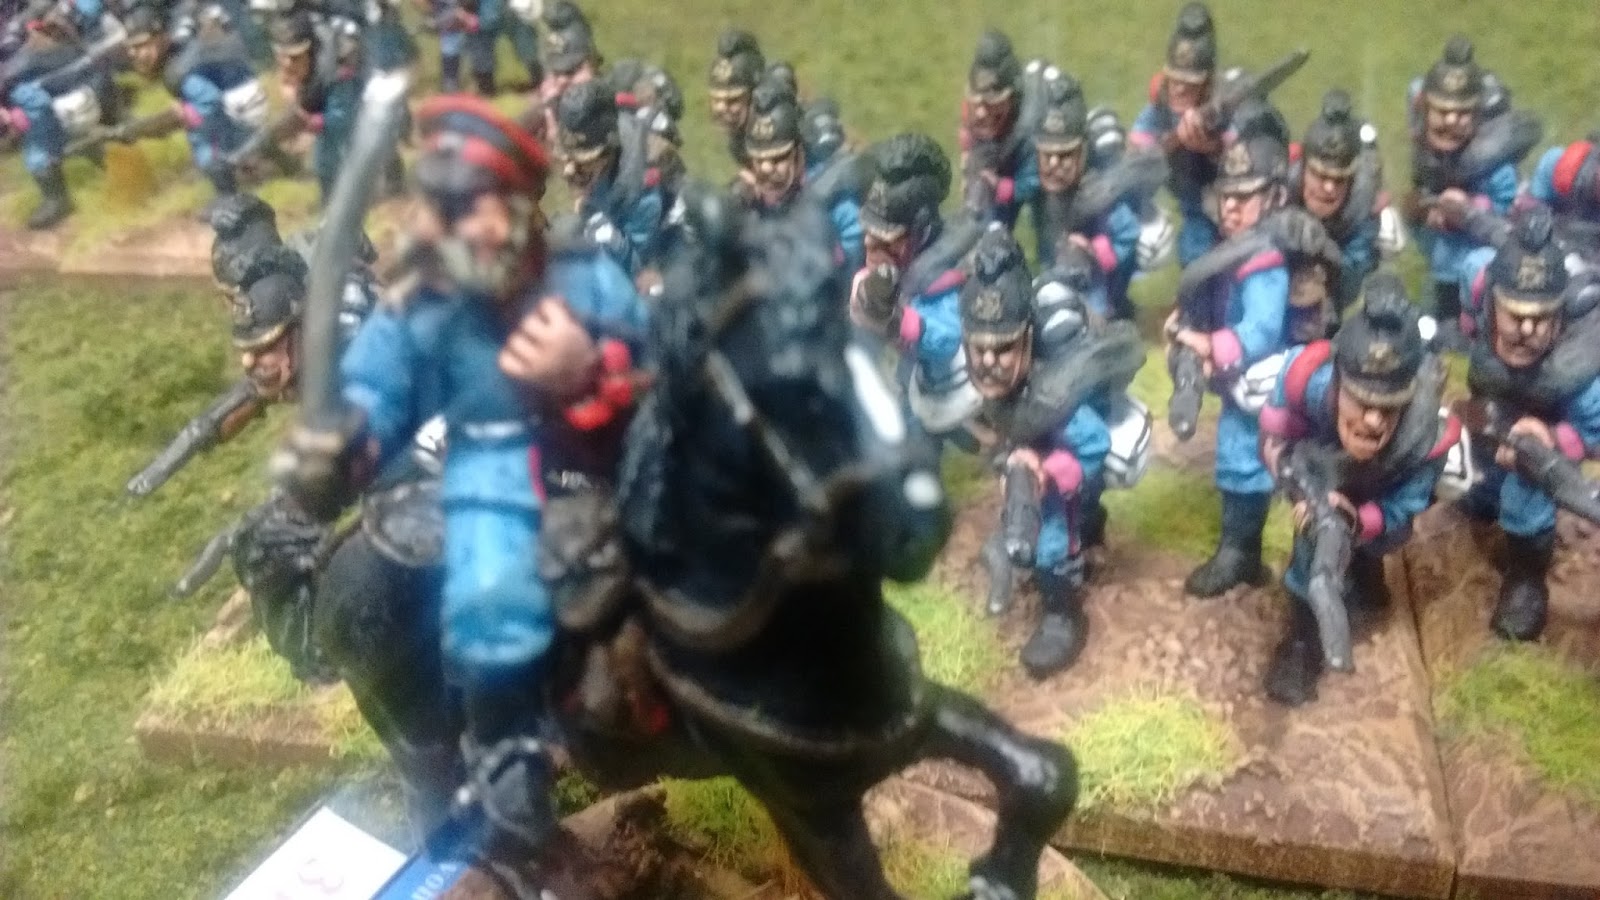
November 2015 we started the battle of Tamai in the Sudan, 1884. Tamai was the second battle of the Suakin field force in their objective to clear the mahdists from imperiling navigation on the Red Sea. Rules used were computer moderated Carnage and Glory 2 using the Von Moltke version with a number of house rules to account for colonial warfare. Unfortunately the author, Nigel, has not yet been convinced to write a colonial version of his rules, but nonetheless Von Moltke plus mods is working like a charm so far. I am beginning to think that the colonial era is the perfect place to use these rules in 28mm due ot the small scale of the battles. No bathtubbing necessary at all.


Two British columns, Brigadier Buller (foreground) and Colonel
Davis advance towards the dry river bed where the
dervish encampment has been reported.

The columns start off at 7am. It's warm already. The British need
to put their enemies to flight before high noon.

The first line of resistance are a few dervish riflemen in foxholes
who keep up a desultory fire against the advancing squares.

The Camel Corps in the vanguard of Buller's column.
Davis's column begins a parallel advance lead by the KRRC
(King's Royal Rifle Cops).

Buller's Column takes a few casualties from sniper fire before they
form up on a small hill to return fire and await developments from
the otherwise unseen enemy.

Davis's column encounters disruptive terrain as they
march into a depression.

Meanwhile the Cavalry brigade under Stewart
prepares to leave the Zariba to support the squares.

Bengal Lancers

Some of the new British arrivals are overcome by the
heat already.

Nurse Fowler attends to the stricken man.

General Graham, the overall commander, oversee's
the advance of the columns.
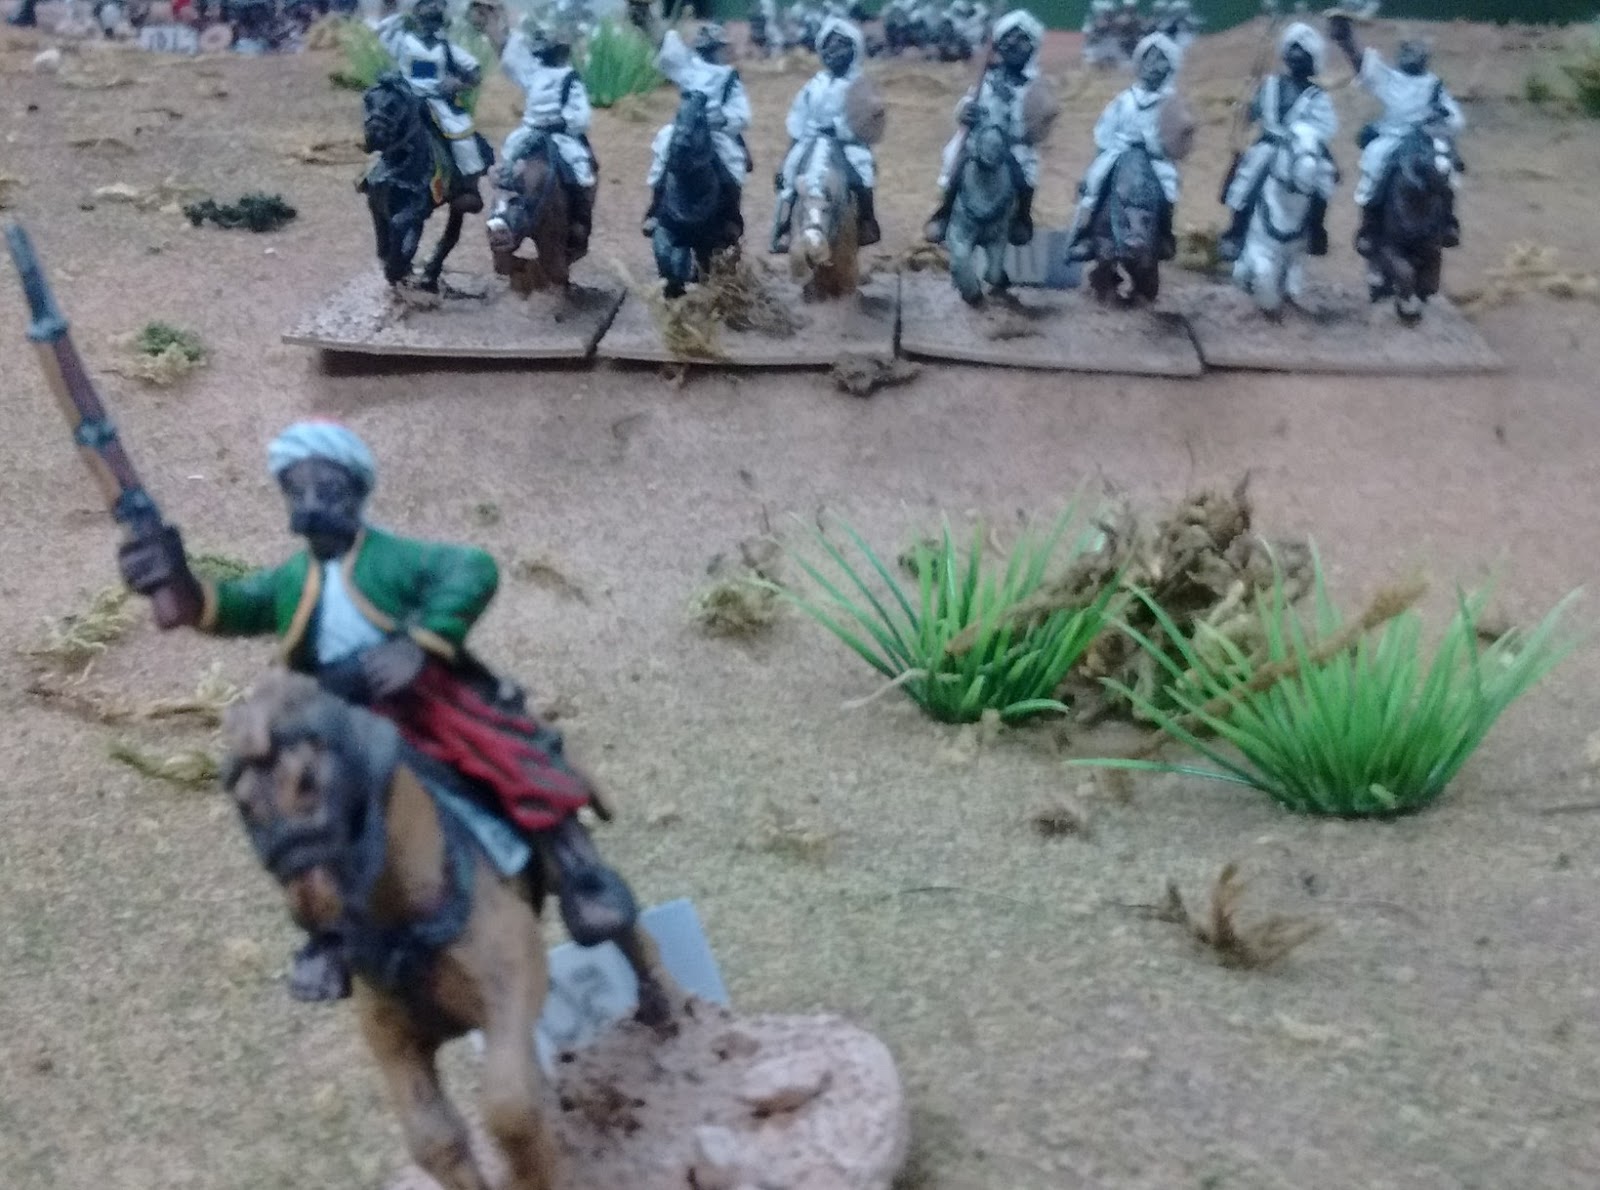
Still no sign of the dervish...a small contingent of irregular
Bashi - Bazouk try to scout out the riverbed and this
arouses a group of Dervish horsemen who decide to
drive them off.

As the horsemen approach the ridge they discover an
unwanted presence in the gully below.

They are soon joined by friends.

Before long more groups of dervish are advancing
from the riverbed.

Form Square!

The British columns await the onslaught!

Colonel Davis's men are still in column advancing through
rocky terrain.

On come the Fuzzi-Wuzzi's

Kill the infidels!

More Dervish horse advances.

Colonel Davis's Square is at risk of encirclement.

After driving off the Dervish Cavalry vanguard the Bengals
ride into the flank of an 800 man mob of Hadendowa..
killing over 300 in their devastating charge.

We will match those lancers with camelry!

Not sure why the colours are so much more vibrant in this pic
and the next but I like them!

alallalalal!


Storytime with the Mahdi

Davis finally forms square...not a moment too soon.

More fuzzies appear!

Buller's square hold's firm.

The Camel Corps mow down the first few half hearted waves
dervishes.

Colonel Fred Burnaby, reputed to have been the strongest man
in England, leaves the square to go hunting with his Shotgun.

The full dervish host has arrived.
More next time.....